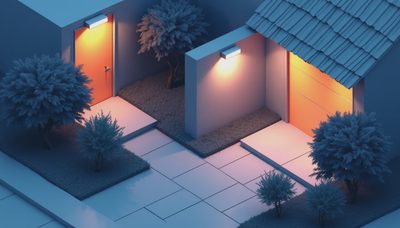
Landscape lighting is not simply a row of bright fixtures along a walkway. Done well, it gives your property depth after sunset, guides people safely, and lets trees, walls, and architectural details remain visible without turning the yard into a stadium. The key is to think like a lighting designer: decide what deserves attention, where shadows should fall, and how much darkness you want to preserve.
I start every residential project by walking the property at night. A daytime yard shows you plants and hardscape, but darkness reveals the real problems: a porch that feels disconnected from the path, steps that disappear, or a beautiful tree that becomes a black silhouette. A thoughtful plan fixes those relationships before anyone chooses a fixture.
Start With Layers, Not Fixtures
The most useful framework for landscape lighting is layering. Ambient light establishes a gentle base level, task light helps people see where they are walking, and accent light gives the eye a reason to move. Outdoor spaces need all three, even when the fixtures are small.
For example, a front entry might use a wall lantern for soft ambient light, low path fixtures near the steps for visual guidance, and a narrow spotlight aimed at a mature tree. Each source has a different job. If you use only path lights, the walkway may be visible while the house behind it remains flat and unwelcoming. If you use only spotlights, the property can feel dramatic but uncomfortable and difficult to navigate.
This layered approach also reduces glare. A fixture does not need to be powerful when nearby surfaces, planting, or architecture help carry the visual effect. In my experience, homeowners are often surprised that a lower-output light looks more expensive because it leaves room for contrast.
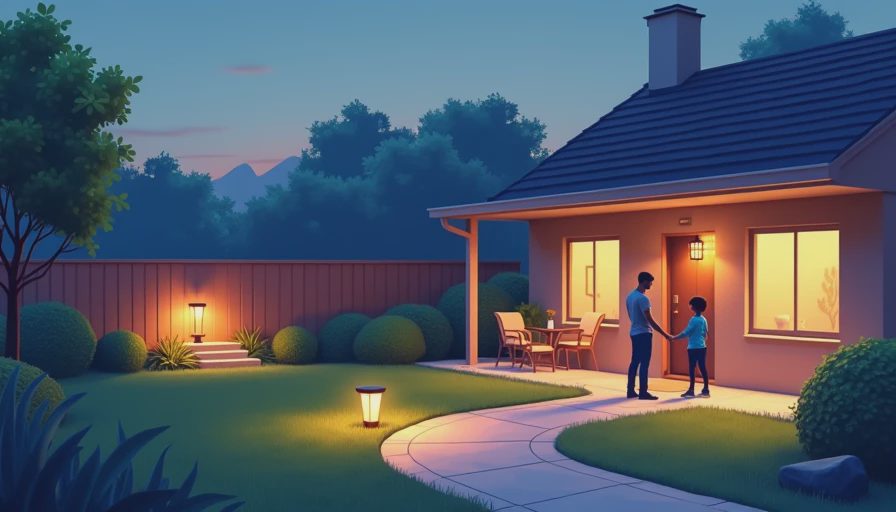
Before installation, switch off every existing outdoor light and observe the property from the street, driveway, and main rooms inside the house. Those viewing positions matter. A beam that looks beautiful from the patio may shine directly into a bedroom window. Landscape lighting should be designed for the people using the home, not only for the person standing beside the fixture during installation.
Choose Color Temperature Carefully
Color temperature describes whether a light appears warm and amber or cooler and whiter. It is measured in Kelvin, abbreviated K. For most residential landscape lighting, 2700K is a comfortable starting point. It produces a warm tone that works well with brick, wood, stone, and green foliage. Some homes look better at 3000K, particularly when the exterior has crisp gray materials or contemporary metal finishes.
Avoid mixing several color temperatures casually. A 2700K path light beside a 4000K floodlight can make the brighter fixture look blue and harsh, even if both products seemed attractive in a showroom. Consistency matters more than chasing a particular number. I usually select the temperature after considering the home’s siding, masonry, interior light visible through windows, and nearby street lighting.
Color rendering also matters. A fixture with a higher CRI, or color rendering index, generally shows plants and finishes more naturally than a low-quality light source. This is especially noticeable with red brick, autumn leaves, blue-gray stone, and flowers. You do not need to become an electrical engineer, but CRI and Kelvin belong on your shopping checklist.
Use Beam Angles to Shape the Scene
Beam angle determines how widely light spreads. A narrow beam creates a concentrated column, while a wide beam covers a larger surface with softer intensity. Neither is automatically better. The right choice depends on the target and the distance from the fixture.
A narrow beam can pull attention upward on a tall, textured tree trunk or highlight a sculptural evergreen. A medium beam often works for a two-story facade, broad tree canopy, or substantial stone wall. A wide beam is useful for low planting beds and open areas where you want a wash rather than a sharp visual mark.
Placement is just as important as beam angle. Aim a spotlight straight at a wall and you can create a flat, glaring patch. Move it closer to the wall and angle it across the surface, and texture becomes visible through shadows. This grazing technique works beautifully on stacked stone and rough stucco. For trees, place the source off to one side so branches create a layered silhouette instead of disappearing into uniform brightness.
Plan Paths, Steps, and Entry Areas
Safety lighting should help people read changes in level without announcing every fixture. On a walkway, alternate path lights rather than placing them in a rigid runway pattern. Staggered positions create overlapping pools of light and reduce the mechanical look associated with evenly spaced stakes.
Steps need special attention. Light the tread or the nearby vertical surface so the edge of each step is visible. A fixture aimed directly toward approaching eyes creates glare and can make the steps harder to read. Recessed step lights, low side-mounted fixtures, or carefully shielded wall lights often perform better than bright lights placed at head height.
At the front door, combine enough light for keys and facial recognition with softer light around the porch. A bright fixture immediately above the door can cast deep shadows across a person’s face. Layering a pair of wall lanterns with a gentle ceiling source usually feels more balanced.
For landscape lighting around driveways, keep fixtures outside tire paths and avoid placing tall units where they can be struck by vehicles, snow equipment, or lawn tools. Protect cables from digging and future planting changes, and use weather-rated equipment designed for outdoor exposure.
Select Controls That Match Real Life
The best lighting plan can fail if the controls are inconvenient. A basic timer is inexpensive and reliable, but sunset changes throughout the year. Astronomical timers adjust automatically based on seasonal sunset times. Smart transformers can add schedules, dimming, and app control, although they should still offer a simple manual option for guests and family members.
Dimming is particularly valuable. You may want a brighter setting when arriving home, a softer setting for an evening gathering, and a low overnight level for orientation. The goal is not maximum output; it is the right amount of light for each moment.
Use separate zones when the property supports them. Front entry, driveway, backyard entertaining areas, and architectural accents do not always need to operate together. Separating those zones can reduce energy use and make the house feel more intentional. Low-voltage systems are common for residential installations, but connections, transformers, cable sizing, and waterproofing still deserve careful attention. A licensed professional is appropriate when the project involves line-voltage work or complicated electrical changes.
A Simple Design Process Before You Buy
Begin with a scaled sketch of the home, paths, trees, walls, steps, and windows. Mark the views that matter most: the street, kitchen, living room, patio, and driveway. Then identify three categories of targets: places people need to see, features you want to emphasize, and areas that should remain dark.
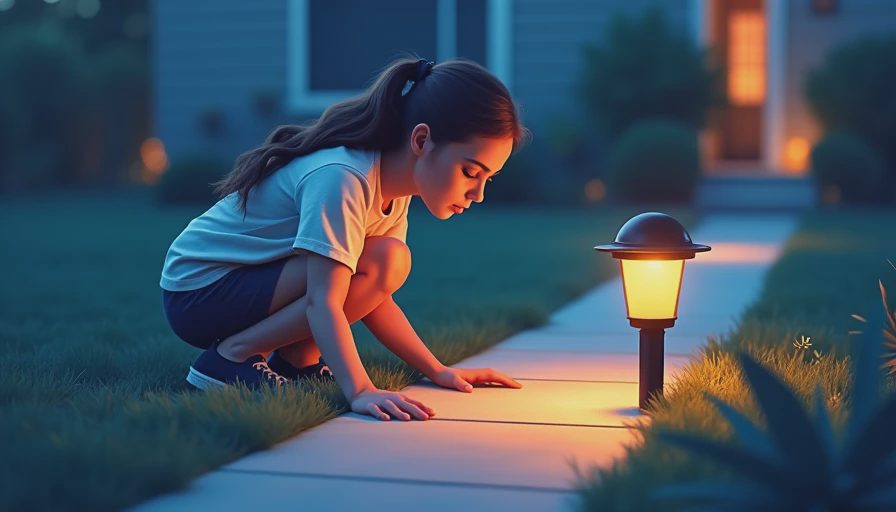
Next, test one fixture at a time after sunset. Place a temporary light at ground level and examine the result from several angles. Move it six inches, change the beam, or shield the lens before committing. This small experiment can reveal more than an afternoon of online product research.
Budget for quality where it affects reliability. A small project with six durable fixtures, a suitable transformer, cable, connectors, and installation can easily cost several hundred dollars, while a larger professionally designed installation may run into several thousand. Cheap fixtures can be false economy if finishes corrode, lenses cloud, or connectors fail after one season.
Landscape lighting should make the home feel more considered, not merely brighter. Start with visual priorities, preserve contrast, use warm and consistent sources, and give every fixture a clear job. When the design is right, you notice the trees, the stone, and the path first. The equipment quietly disappears, which is usually the sign that the lighting engineer did the work well.