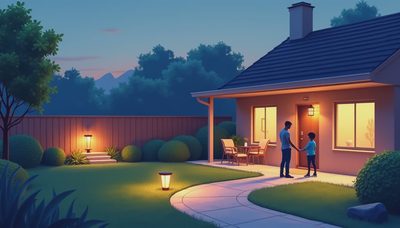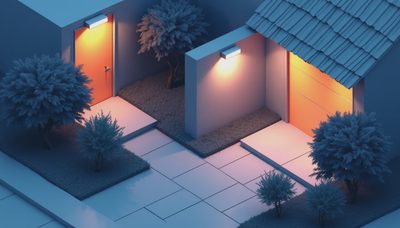
Low voltage landscape lighting can make a driveway safer, reveal the shape of a mature tree, and give a patio the same sense of finish as a well-designed interior. The mistake I see most often is treating it as a collection of bright objects. Good outdoor lighting is a composition: some areas guide you, some create depth, and some are deliberately left dark.
Most residential systems operate at 12 volts, supplied by a transformer that reduces standard household voltage. That lower voltage makes installation more approachable and reduces shock risk, but it does not eliminate the need for careful planning. You still need weather-rated equipment, protected connections, sensible cable routing, and a layout that respects how light behaves at night.
Start with the visual problem, not the fixture
Walk your property after sunset before buying anything. Stand at the front walk, the street, the kitchen window, and the seating area. Notice where you feel uncertain, where the house disappears, and where glare comes directly into your eyes. These observations tell you more than a product page can.
Divide the plan into three layers. Ambient light provides a general glow, such as soft illumination near a porch or terrace. Task light helps with a specific activity, such as seeing steps, a gate latch, or a grill. Accent light adds emphasis to trunks, walls, boulders, and architectural details. A yard that uses only accent fixtures often looks theatrical and patchy; one that combines all three layers feels natural.
For example, a front entry might use a shielded path fixture every 8 to 10 feet, a small wall light near the door, and two adjustable spotlights aimed at a tree or textured masonry. The fixtures do not need to match perfectly. They need to share a visual logic: similar finish, coordinated brightness, and a consistent color temperature.
Choose fixtures by the job they perform
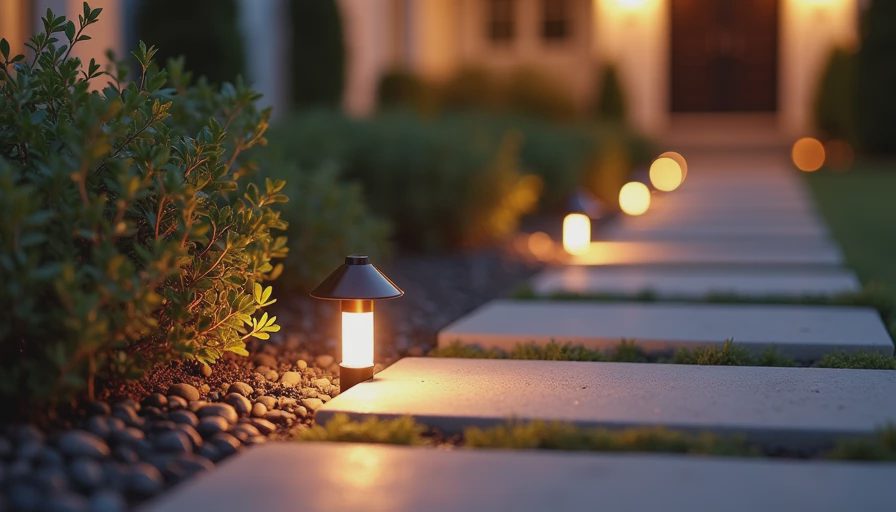
The most useful fixture families are path lights, spotlights, floodlights, in-ground lights, deck lights, and wall-mounted fixtures. A path light spreads illumination across walking surfaces. A spotlight produces a narrower beam for a tree, column, or sculpture. A floodlight covers a broader area, but it can create glare when installed too close to a seating area or aimed toward a window.
When comparing low voltage landscape lighting, look beyond wattage. Lumens describe light output, beam angle describes spread, and color temperature describes appearance. Around 2700K usually gives a warm, residential glow. Around 3000K appears cleaner and slightly brighter while still feeling comfortable outdoors. Higher color temperatures can make plants and stone look harsh, particularly when several fixtures are close together.
Color rendering index, or CRI, describes how accurately a fixture reveals colors compared with a reference light source. A CRI of 80 or higher is a practical starting point for residential planting and exterior finishes. If you have colorful flowers, warm brick, or detailed stonework, a higher-CRI fixture can make those materials look considerably more convincing.
Size the transformer and cable carefully
A transformer should have enough capacity for the connected load without operating continuously at its limit. Add the wattage of every fixture, then leave reserve capacity for future additions. A system using 90 watts of fixtures might be better served by a 150-watt transformer than a 100-watt model, especially if you expect to add lighting near a side gate later.
Cable length and voltage drop also matter. Voltage drop occurs as electricity travels through a long run, causing fixtures at the far end to become dimmer. Longer runs generally benefit from thicker cable, and separating the system into multiple runs can produce more even results. Instead of placing every fixture on one winding path around the property, an installer might create separate runs for the front walk, foundation planting, and backyard patio.
Use direct-bury outdoor cable rated for the application, and make connections with waterproof connectors designed for landscape systems. Ordinary wire nuts inside a plastic bag are not a durable solution. Before burying anything, test the complete system at night and confirm that each fixture is aimed correctly.
Place light where the eye needs it
Avoid lining path lights up like runway markers. Staggering them from side to side creates a softer rhythm and reduces the feeling that you are walking through a corridor of identical pools. Keep fixtures far enough from the path that their beams overlap gently rather than producing bright circles at your feet.
For trees, start by deciding whether you want to show the trunk, the canopy, or the texture of the bark. A narrow-beam spotlight placed too close to a large tree creates a bright stripe and leaves the canopy unfinished. Moving it several feet back often produces a wider, more natural spread. For a delicate ornamental tree, use less output than you think you need; over-lighting destroys the shadows that give branches their shape.
Wall washing works best when the light source is positioned far enough from the surface to spread evenly. Grazing, by contrast, places the source close to the wall so texture becomes prominent. These are different techniques, and confusing them can turn attractive stone into a field of distracting bright spots.
Control glare, contrast, and nighttime views
A fixture can be technically bright enough while still being visually wrong. If you can see the LED from a patio chair, upstairs bedroom, or neighboring property, add a shield, change the angle, or move the fixture behind planting. The goal is to see the illuminated subject, not the source itself.
Good low voltage landscape lighting also preserves contrast. If every shrub, path, and wall receives equal brightness, the yard becomes flat. Use brighter light for a transition point such as stairs, moderate light for circulation, and lower light for background planting. This hierarchy makes a small property feel deeper because the eye has somewhere to travel.
Timers, photocells, and smart controls can make the system easier to live with. A photocell turns lights on as daylight fades, while a timer can set an off time later in the evening. Smart controls are useful when you want separate scenes for dinner, entertaining, and security. Set the schedule around how the property is used rather than leaving every fixture on at full output all night.
A practical installation sequence
Begin by sketching the property and marking doors, steps, trees, fences, utilities, and outdoor seating. Next, identify the three or four views that matter most. Lay temporary fixtures on the ground and test them after dark. This inexpensive experiment often reveals that a planned spotlight is unnecessary or that a path needs light from a different angle.
Then calculate connected wattage, select a transformer with reserve capacity, and divide the wiring into manageable runs. Bury cable according to local requirements and leave accessible service loops near fixtures and connections. Label each run at the transformer so future maintenance does not become detective work.
Finally, aim fixtures in small increments. Take a photograph from the main viewing position, adjust one light, and compare the result. A five-degree change can move a hot spot off a window or place the brightest part of a beam exactly on a tree trunk.
What a balanced budget can buy
A small front-entry project with six path lights, two spotlights, cable, connectors, and a transformer may cost roughly $500 to $1,500 in materials, depending on fixture quality. Professional design and installation can raise the total, but the value is in solving layout and wiring problems before they become expensive. Commercial-grade brass fixtures often cost more than entry-level aluminum products, yet they typically offer sturdier construction and better long-term serviceability.
Start with the spaces you use and the views you see from indoors. Add the backyard later if the first phase teaches you something about brightness, glare, or color temperature. The best low voltage landscape lighting is not the system with the most fixtures. It is the one that makes arrival easier, outdoor rooms more inviting, and the architecture legible without announcing how hard it is working.