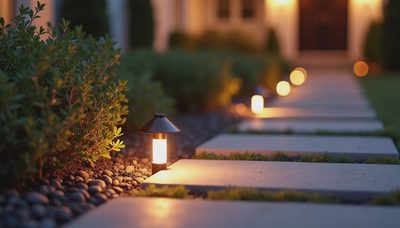
Solar pathway lights are often treated as simple outdoor accessories: push them into the soil, wait for sunset, and enjoy the glow. The better approach is to think of them as a low-voltage lighting system, even when no wire connects the fixtures. Their spacing, height, brightness, color temperature, and relationship to nearby light sources determine whether your walkway feels calm and intentional or dotted with distracting points of glare.
I approach a path the same way I approach a room. First, identify the task. A front walk needs enough light for people to see changes in grade, steps, and obstacles. Then consider atmosphere. The goal is not to turn the entire yard into a parking lot. It is to create a readable route with comfortable shadows and a welcoming edge.
Start With the Path, Not the Fixture
Before shopping, walk the route after dark with a flashlight. Notice where the pavement disappears, where tree roots create uneven surfaces, and where visitors naturally slow down. Mark those locations with small flags or pieces of painter's tape. This exercise tells you where light is useful instead of encouraging you to place one fixture at every equal interval.
For a straight walkway, solar pathway lights usually look balanced when placed on alternating sides rather than directly opposite one another. This staggered arrangement reduces the runway effect and spreads light across the walking surface. A spacing of roughly 6 to 10 feet is a practical starting point, although a narrow path may need fewer fixtures and a path with steps may need closer placement.
Keep fixtures slightly away from the pavement edge. Around 8 to 18 inches gives the light room to spread without making the fixture vulnerable to shoes, lawn equipment, or foot traffic. At a curve, place one fixture before the turn and another after it so the direction remains obvious. At stairs, prioritize the top and bottom landings, then add light where each tread changes elevation.
Brightness and Color Temperature Matter
More lumens do not automatically create better pathway lighting. Lumens measure light output, but they do not tell you whether the light will feel comfortable. For a residential walkway, a modest fixture in the approximate range of 10 to 30 lumens can be sufficient when spacing is sensible. Higher-output models can help around steps or a dark driveway, but too many bright fixtures create hot spots and deep contrast between them.
Look at the light source from a standing position before installation. If the LED is visible from the street or from a nearby window, you may experience glare even when the path itself is well illuminated. A cap, hood, or frosted diffuser can direct light downward and soften the bright point. This is especially important for fixtures installed beside a bench, patio, or dining area where people will sit and look across the yard.
Color temperature describes whether light appears warm or cool. A 2700K or 3000K LED generally produces a warm white that works well with brick, wood, stone, and planting. A 4000K fixture appears noticeably cooler and can make a residential garden feel more like a commercial property. If your porch lanterns are warm white, matching the pathway fixtures to that range creates visual continuity.
Do not confuse color temperature with color rendering index, or CRI. CRI describes how accurately colors appear under a light source. A higher CRI is useful near colorful flowers, painted doors, or textured masonry, although many small solar fixtures do not publish a reliable CRI rating. In that case, prioritize a warm, diffuse source and a return policy.
Evaluate the Solar Hardware
The panel needs a clear view of the sky for several hours each day. A fixture placed under dense tree cover may glow strongly in June and fade early in December when the sun angle changes. Southern exposure is often helpful in the United States, but the best direction depends on your house, shade patterns, and season. Move a sample fixture around before installing a full set.
Solar pathway lights typically use rechargeable lithium-ion or nickel-metal hydride batteries. Lithium-ion batteries often provide strong capacity in a compact package, while nickel-metal hydride batteries remain common in affordable fixtures. Battery performance declines with age, cold temperatures, and repeated cloudy days. A light that operates for eight hours on a product box may run for much less time when its panel receives limited sunlight.
Look for a replaceable battery compartment rather than a permanently sealed unit. Replacement batteries commonly cost about $5 to $15 per fixture, depending on size and chemistry. Also inspect the panel surface, switch location, and gasket around the housing. A tool-free switch hidden beneath the cap is convenient during setup, but a sealed housing is more resistant to rain only when its construction is genuinely sound.
Use Layers Around the Walkway
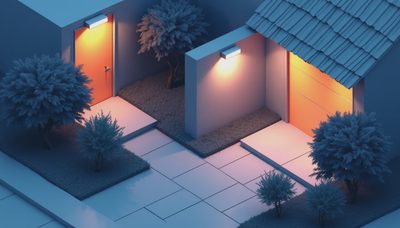
A path should not carry the entire responsibility for outdoor visibility. Combine solar pathway lights with a porch fixture, a low wall light, or a properly aimed motion-activated light near the entry. These layers serve different purposes. The path fixtures define the route, the porch light helps with keys and faces, and a motion light can provide temporary brightness when someone approaches.
Avoid aiming a powerful security fixture directly at the walkway. It can flatten the landscape with harsh glare and make the smaller path lights seem ineffective. Instead, aim it toward the driveway or an access point, keeping the beam away from windows and neighboring properties. Shielding matters because useful light is light that lands where you need it.

A simple example is a 30-foot front walk leading to three steps. I might begin with five modest solar pathway lights, staggered along the walk, then add one fixture at the upper landing and one at the bottom step. A warm porch lantern would handle the door area. That arrangement provides orientation without placing a glowing marker every few feet.
Installation Details That Improve the Result
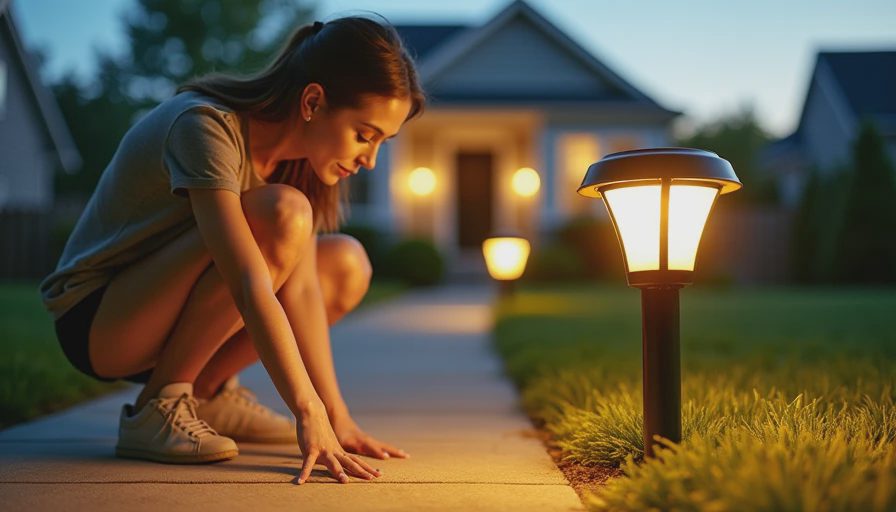
Install after the soil has been watered or loosened, but do not force a stake through hard ground. A pilot hole made with a narrow garden tool protects the plastic stem and keeps the fixture vertical. If the light tilts, its beam shifts and the row can look careless. Set every fixture at the same height unless a change in terrain requires otherwise.
Test the layout at night before compacting soil around the stakes. Walk from the sidewalk toward the door, then view the path from inside the house. Check for glare, dark steps, and light spilling into a bedroom. Adjust spacing by a foot or two if necessary. Outdoor lighting is easier to improve during a ten-minute test than after the fixtures have settled into frozen or compacted soil.
Keep grass, mulch, and leaves away from the solar panel. Clean the panel with a damp, soft cloth several times each season, especially after pollen or dust storms. Do not use abrasive pads, and replace cracked diffusers before water reaches the electronics. These small maintenance steps often matter more than purchasing the most expensive set.
How to Choose a Set With Confidence
When comparing solar pathway lights, start with the problem each model solves. A wide frosted lens is useful when you want soft lateral illumination. A hooded top is better when glare control matters. A taller fixture may be visible in ornamental planting, while a short fixture can disappear beside low ground cover. Read the dimensions carefully; product photos frequently make compact fixtures look larger than they are.
Check the stated operating time, battery type, weather rating, and replacement-part availability. Treat vague phrases such as “super bright” as marketing rather than technical information. Reviews are most useful when they describe performance after several months, not just the brightness on the first evening.
The best solar pathway lights are not necessarily the brightest or most decorative. They are the fixtures that guide movement, support the architecture, and disappear into the overall composition. Plan the route, control glare, match the color temperature, and test before committing to the full installation. When those decisions are right, the result feels less like a row of gadgets and more like a quiet, well-designed extension of the home.