Good under cabinet lighting spacing is less about making a row of fixtures look perfectly symmetrical and more about putting light where your hands, cutting boards, and appliances actually need it. I have seen beautiful kitchens feel uncomfortable because the fixtures were pushed too far toward the wall or clustered in the wrong places. A few measurements made before installation can prevent that result.
The goal is layered light: enough brightness for food preparation, soft illumination for evening tasks, and no bright dots reflected in a polished countertop. Under cabinet lighting spacing depends on the fixture type, cabinet depth, counter material, and the way you use the room. The right layout can make a modest kitchen feel calmer and more intentional.
Start With the Counter, Not the Cabinet
The first question is where the working surface is located. A light mounted near the back wall can cast your body’s shadow across the counter when you stand in front of it. For that reason, linear LED strips or compact puck lights usually perform best when installed toward the front half of the cabinet underside, rather than directly against the backsplash.
For a cabinet that is roughly 12 to 15 inches deep, place a continuous LED strip about 2 to 3 inches back from the front edge. This position spreads light across the counter while keeping the source hidden from normal standing views. If the strip sits too far forward, it can create a bright line on the counter edge. If it sits too far back, the backsplash may glow while the cutting area remains dim.
When planning under cabinet lighting spacing, measure the usable cabinet run instead of the entire wall. A refrigerator, range hood, open shelf, or decorative end panel may interrupt the installation. Mark each interruption on a simple elevation drawing before ordering wire, channels, or connectors.
How Far Apart Should Puck Lights Be?
Puck lights create concentrated pools of illumination, so their spacing needs more attention than a continuous strip. As a starting point, place puck lights approximately 8 to 12 inches from the cabinet ends and then space the remaining fixtures about 18 to 24 inches apart. This is a starting layout, not a rigid rule. A dark stone counter often needs more even coverage than a pale matte surface.
A 36-inch cabinet run might use two pucks, while a 48-inch run may look better with three. Avoid placing one puck at the exact center of every cabinet door if that leaves wide gaps between fixtures. Cabinet doors are visual units, but light should follow the work surface beneath them. A sink, prep area, and cooktop deserve priority even when the cabinet divisions are uneven.
For a small kitchen, fewer higher-quality fixtures can look better than many inexpensive pucks. Look for a wide beam angle when you want smooth coverage. A narrow beam can produce bright circles that resemble spotlights, especially on glossy quartz or granite. Dimmability is also important because the level needed for chopping vegetables is much higher than the level needed for a late-night glass of water.
LED Strip Layouts for Even Coverage
LED strips are often the easiest solution for long cabinet runs because they provide continuous light instead of separate pools. Under cabinet lighting spacing for a strip is mainly about breaks and transitions. Run the strip as continuously as practical across each cabinet group, and use aluminum channels with diffusers when you want a cleaner line and fewer visible LED points.
Do not assume one strip can make every turn without planning. Inside corners may require a connector, a carefully soldered joint, or two separate sections powered from the same system. Leave enough room for connectors inside the cabinet, where they remain accessible. A hidden power supply should still be serviceable rather than permanently sealed behind drywall or cabinetry.
For a 10-foot run, check the manufacturer’s maximum recommended length and voltage-drop guidance. A strip that looks bright near the power feed can become noticeably dull at the far end if it is overloaded. High-density strips and aluminum channels cost more than basic tape, but they generally produce a more finished result and manage heat more effectively.
Match Spacing to the Task
Every section of counter does not need identical illumination. A baking area benefits from broad, even light so flour, dough, and measuring marks are easy to see. A sink needs enough light to reveal food residue and water spots. Around a cooktop, avoid placing a fixture where steam, grease, or high heat can shorten its life; the hood’s task lighting may already handle part of that zone.
For this reason, under cabinet lighting spacing should be adjusted around the kitchen’s work zones. Put a puck or a bright portion of an LED strip over the center of a frequently used prep area, not several inches to one side simply to preserve visual symmetry. If a cabinet has an open shelf below it, treat the shelf as a possible obstruction. Light that stops at the shelf may not reach the counter.
Color temperature affects the way spacing feels. A warm 2700K light can make wood cabinetry inviting, while 3000K often offers a neutral residential appearance. Choose a color temperature that relates to the room’s ceiling fixtures. Mixing a warm strip with a cool ceiling light can make the counter look disconnected even when the layout is correct. A color rendering index, or CRI, of 90 or higher is a sensible target for food and finish colors.
Common Installation Mistakes
The most common mistake is placing every fixture at the cabinet centerline without considering the person standing at the counter. Another is installing a single puck in a wide cabinet run and expecting it to illuminate the whole surface. Both choices create strong contrast: a bright patch near the fixture and dim areas between fixtures.
A second problem is forgetting the backsplash reflection. Glossy tile, polished stone, and glass can reflect individual LED points directly into your eyes. A diffuser, a lower-glare fixture, or a small shift toward the cabinet front can solve the issue. Before finalizing the installation, hold the light in position after dark and view it from the normal standing height. This simple test often reveals problems that a daytime measurement misses.
Finally, do not hide the switch in an awkward location. A wall switch, door sensor, or under-cabinet touch control should be reachable when your hands are wet or occupied. Dimmers are especially useful in kitchens that transition from meal preparation to entertaining.
A Simple Planning Process
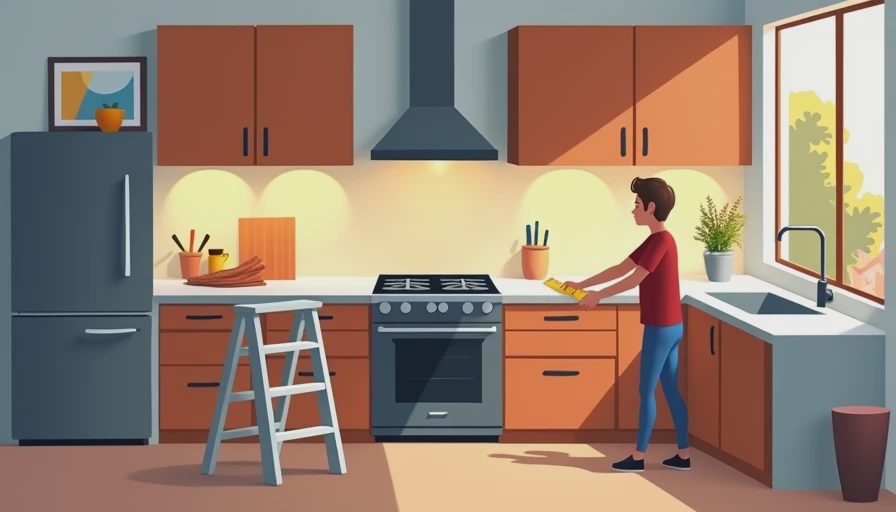
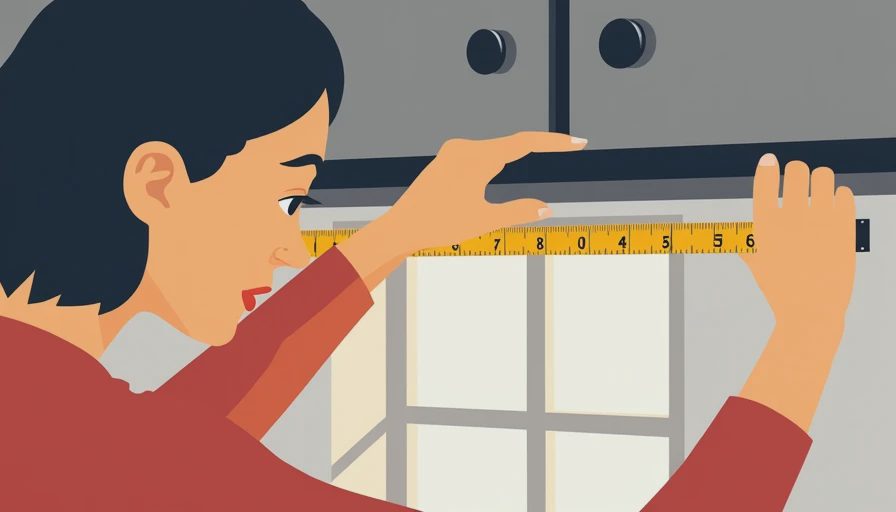
Begin by measuring each uninterrupted cabinet run and marking sinks, ranges, corners, and open shelves. Next, decide whether the surface needs continuous light or separate pools. Choose a strip for seamless coverage, or use pucks when cabinet construction makes a linear system difficult.
Then mark the proposed fixture positions with painter’s tape. Stand at the counter and look for direct glare, shadows from your body, and dark gaps between work zones. For puck lights, start with 18- to 24-inch spacing and tighten the pattern where the counter is dark. For strips, start 2 to 3 inches behind the front edge and adjust after testing.
Finally, confirm the power supply, dimmer compatibility, color temperature, and wire paths before cutting anything. A licensed electrician should handle new line-voltage wiring or work that requires opening walls. Low-voltage lighting is approachable for many homeowners, but the connections still need to follow the manufacturer’s instructions.
Thoughtful under cabinet lighting spacing is a small design decision with a large visual payoff. It reduces shadows, protects your eyes from glare, and gives the kitchen a sense of depth after sunset. Measure the work surface, test the light from a standing position, and let the way you use the room guide the final layout.