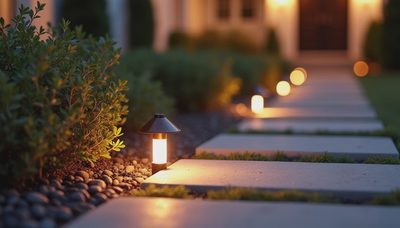
Yard lights can transform the way your home feels after sunset. The goal is not to make every corner equally bright. Good outdoor lighting gives people a clear path, reveals useful architectural details, and creates enough contrast for the yard to feel deep rather than washed out. After designing residential lighting systems for years, I have found that the best results come from treating the landscape as a composition, not a hardware aisle.
Start With the Job Each Light Must Do
Before choosing fixtures, walk through the property after dark. Notice where a visitor naturally walks, where steps disappear, and which features you would like to see from inside the house. Those observations divide outdoor lighting into three useful jobs: safety, orientation, and visual interest.
Path lighting supports orientation along walkways, but it should not resemble a runway. Fixtures placed every 8 to 12 feet can create a comfortable rhythm, especially when their beams overlap gently. Step lights handle changes in level and should illuminate the tread rather than shine directly into someone’s eyes. Near a driveway, broader illumination can help reveal vehicles, edges, and pedestrians without creating glare.
Accent lighting is different. A narrow beam can graze the bark of a mature tree, pick out a stone wall, or reveal the texture of a stucco surface. These yard lights work best when they illuminate something worth looking at. Pointing several fixtures at an empty lawn usually creates brightness without character.
How Bright Should Yard Lights Be?
More brightness is rarely the answer. A very bright fixture near a dark patio can make the rest of the yard appear even darker because your eyes adapt to the brightest source. This is the same reason a phone screen feels blinding in a dark room. Outdoor lighting works better when fixtures are balanced across the view.
For a small path, a low-output LED fixture is often enough. Many residential path lights use roughly 50 to 150 lumens, while an accent aimed at a tree or wall may need more depending on distance, surface color, and beam angle. A pale wall reflects light efficiently; dark brick and dense foliage absorb much of it. Rather than selecting by lumens alone, test the fixture at night and observe the actual surface it reaches.
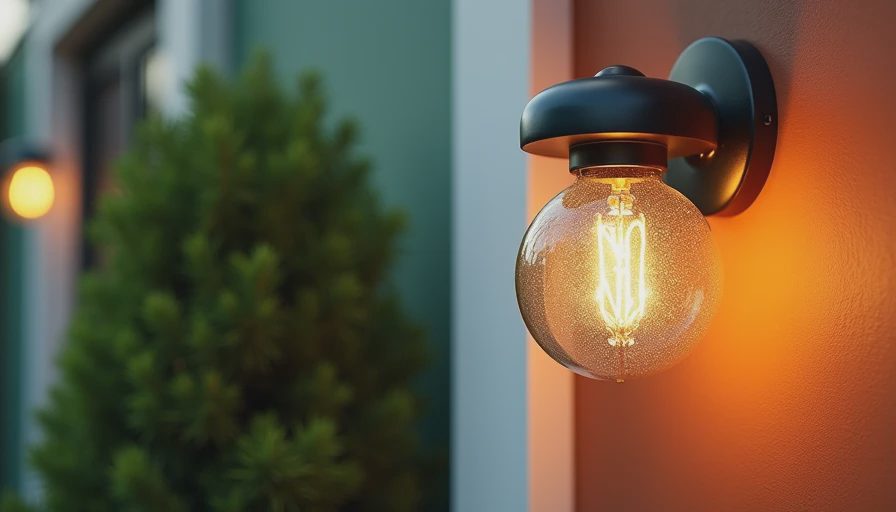
Shielding matters as much as output. A hood, shroud, or recessed lens keeps light directed toward the ground or feature instead of toward a neighbor’s window. When comparing yard lights, stand at the normal viewing position and look toward the fixture. If you can see the bright LED directly, glare will probably become irritating over time.
Color Temperature and the Feeling of a Landscape
Color temperature describes whether a lamp appears warm or cool. It is measured in Kelvin, although you do not need to memorize the scale to make a good decision. Around 2700K produces a warm, candlelike appearance that generally suits brick, wood, planting beds, and entertaining areas. Around 3000K looks cleaner and slightly more neutral, which can work well with modern architecture and concrete.
I rarely recommend very cool outdoor light for a residential yard. Blue-white light can flatten foliage, make skin look unpleasant, and compete with the warm glow coming through the windows. A consistent color temperature also matters. Mixing 2700K path fixtures with 4000K wall lights can make the property look accidental, even when each product seemed attractive in the store.
Color rendering is another useful specification. A high color rendering index, or CRI, means the source shows colors more naturally. This is noticeable in green leaves, red brick, painted doors, and flowers. For a landscape where material and planting color matter, choose yard lights with a CRI of 80 or higher; 90 or above is a worthwhile upgrade for feature lighting.
Placement: Hide the Source, Reveal the Subject
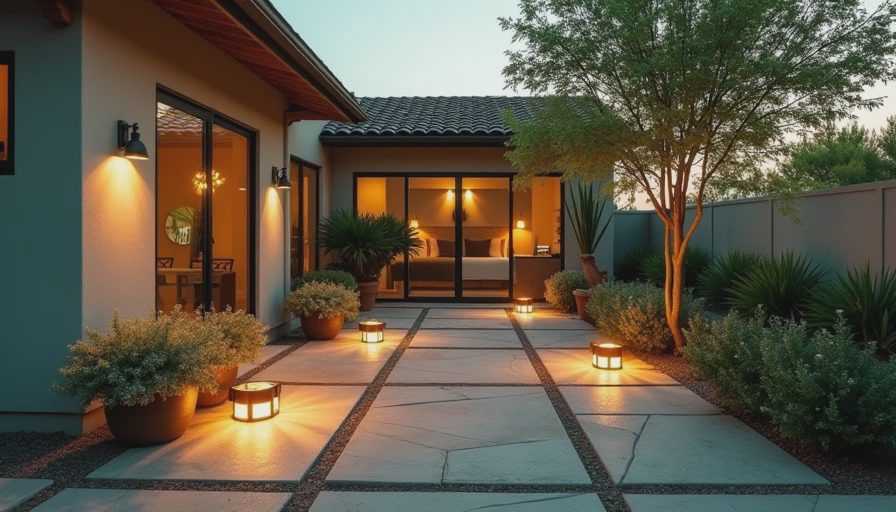
The most successful installations usually hide the source of light. Place a small spotlight behind a low planting bed, aim it through branches, or tuck it beside a retaining wall so the beam is visible but the fixture is not. This creates a softer, more architectural effect than lining the edge of the property with exposed lamps.
For trees, try both uplighting and downlighting. Uplighting emphasizes trunk texture and canopy shape. Downlighting from a branch can imitate moonlight, casting layered shadows across the ground. The fixture must be installed securely and aimed carefully; a poor angle creates a bright circle instead of a natural pattern. Keep wiring and connections rated for outdoor use, and use appropriate weatherproof enclosures.
Avoid placing path lights directly opposite each other. Staggering them on alternate sides produces a more natural rhythm and reduces the tunnel effect. Also account for future plant growth. A fixture that looks exposed today may disappear behind shrubs next year, while a buried light can become difficult to access after roots spread.
Controls Make Yard Lights Easier to Live With
A basic timer is better than manually switching lights, but astronomical timers are more convenient because they adjust for seasonal changes in sunset. Photocells can turn fixtures on when it gets dark, while motion sensors are useful near gates, garages, and side passages where continuous illumination is unnecessary.
Smart controls can add scheduling, dimming, and separate zones. I prefer dividing the system into at least two circuits: practical lighting for paths and entrances, and decorative lighting for trees, walls, and planting. That lets you keep a welcoming glow late into the evening without running every fixture at full output.
Low-voltage systems are common for landscape applications because a transformer reduces household voltage to a safer level for outdoor runs. The transformer still needs adequate capacity, and long cable runs can experience voltage drop, which makes distant fixtures dimmer. A professional installer will size the cable and transformer rather than simply connecting more lamps until the system stops performing.
A Simple Plan for Your Property
Begin with a sketch showing the house, driveway, walkways, steps, trees, walls, and outdoor seating. Mark the points where people need guidance, then circle two or three features that deserve attention. Resist the temptation to light everything on the first pass. Darkness is part of the design, and leaving some areas quiet gives the illuminated elements more impact.
Next, select a warm color temperature, establish fixture heights, and test temporary positions after dark. Cardboard shields or inexpensive temporary lights can help you evaluate glare before committing to installation. View the result from the sidewalk, driveway, patio, and interior rooms. A fixture that looks perfect beside the walkway may appear harsh from the kitchen window.
Finally, budget for maintenance. Keep lenses clear, trim plants away from beams, inspect cable connections, and realign fixtures after storms or landscaping work. Quality yard lights often cost more upfront, but durable housings, replaceable components, and stable color output can prevent the patchwork look that develops when inexpensive fixtures fail at different times.
The best outdoor scheme is not the brightest one. It is the one that makes arrival feel easy, gives the landscape dimension, and lets the architecture remain visible after sunset. Start with purpose, control glare, and use yard lights selectively. When the source disappears and the right surfaces begin to glow, the entire property feels more considered.