
A recessed lighting spacing calculator can give you a useful starting layout, but it cannot understand how your room will be used. A kitchen counter, a hallway, and a living room all need different relationships between light, people, and surfaces. The best plan combines simple measurements with a little lighting judgment.
I have seen homeowners install perfectly even grids that still feel dim, glaring, or strangely flat. The problem is usually not the fixtures themselves. It is that the lights were spaced from the room’s boundaries rather than from the tasks and surfaces that matter. Use the calculator as a planning tool, then adjust the pattern around cabinets, furniture, artwork, and ceiling obstructions.
What a recessed lighting spacing calculator actually tells you
Most calculators use the ceiling height and the fixture’s beam spread to estimate a reasonable distance between downlights. A common starting rule is to space fixtures about one-half to two-thirds of the ceiling height apart. In an 8-foot ceiling, that suggests roughly 4 to 5 feet between fixtures. A 10-foot ceiling might support spacing in the range of 5 to 6 feet, depending on the trim, lamp, and desired brightness.
That rule is not a lighting law. A fixture with a narrow 40-degree beam will behave very differently from a wide 100-degree beam. Lumens matter too: two 900-lumen LED modules can produce a brighter, more concentrated pattern than two lower-output fixtures. The calculator usually cannot account for wall color, furniture, ceiling finish, or the amount of daylight entering through windows.
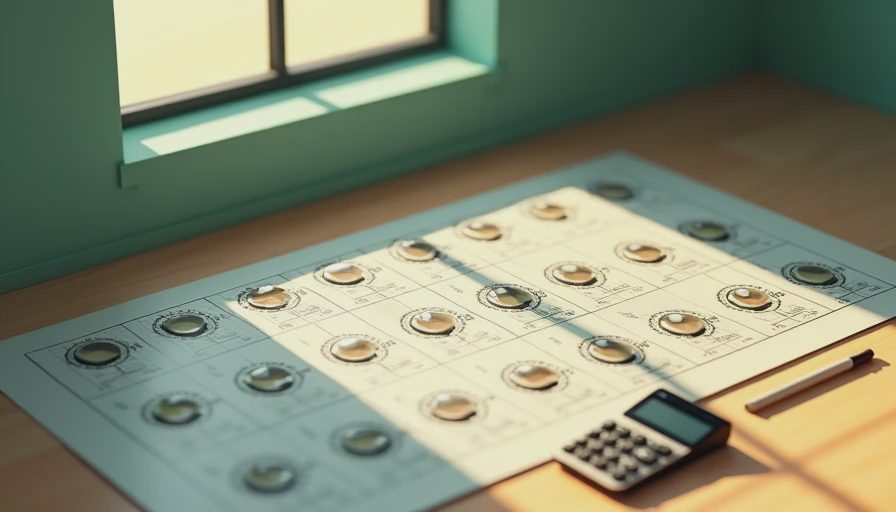
Treat the result as a draft. Draw the suggested circles on your floor plan and ask whether each one illuminates something useful. If a light lands directly over a tall cabinet, swings into someone’s eyes from the sofa, or leaves the kitchen worktop in shadow, move it.
A practical first pass also includes the fixture’s distance from the wall. For general room lighting, placing the first row about 2 to 3 feet from the wall often works better than pushing it close to the perimeter. That distance lets light reach the wall without creating a harsh scallop directly beneath the trim.
Start with the room, not the grid
Before entering measurements into a recessed lighting spacing calculator, make a quick room inventory. Record the length and width, ceiling height, window locations, door swings, built-in cabinets, ceiling fans, beams, and any pendant or chandelier you plan to keep. Then mark the places where people actually work or gather.
In a kitchen, the important line is usually the countertop, not the center of the floor. A ceiling light placed exactly halfway between the island and the wall may sit behind your head while you chop vegetables, casting your body’s shadow onto the counter. Position recessed lights so the beam reaches the front half of the work surface. With standard 24-inch-deep cabinets, a row around 24 to 30 inches from the wall of cabinets is often a better starting point than a centered ceiling grid.
In a living room, prioritize comfortable ambient light and wall illumination. A sofa, reading chair, bookcase, or fireplace can guide placement. You may need fewer downlights than expected if a central pendant, floor lamps, and reflected light from walls already carry the room.
In a hallway, a straight line is usually visually clean. Keep the first and last fixtures far enough from the end walls to avoid bright patches, and align the lights with the corridor rather than forcing them into a square pattern.
How to calculate spacing by hand
The basic process is straightforward. Measure the ceiling height, choose an approximate spacing range, and divide the room dimensions into equal bays. For a 12-by-16-foot room with an 8-foot ceiling, you might begin with two rows across the 12-foot width and three fixtures along the 16-foot length. That creates six fixtures, with the outside rows roughly 3 feet from the long walls and the fixtures separated by about 5 feet along the room.
The exact geometry should be adjusted for the beam angle. Wide-beam fixtures can cover more floor area, but their light may feel less focused on a work surface. Narrow-beam fixtures create stronger pools and can emphasize artwork or a textured wall, but they show spacing errors more clearly.
Use the recessed lighting spacing calculator to compare this six-fixture layout with alternatives. Then sketch the beam areas as overlapping circles. Overlap is desirable for smooth illumination; isolated circles create a dotted appearance on the floor. If the room contains a large table, island, or sectional, shift the pattern so the useful light lands where people sit and work.
Do not forget switching. A room with eight fixtures does not need all eight on at once. Divide the lights into zones, such as perimeter, work area, and seating area. Dimmers make those zones more flexible, especially when daylight changes during the day.

Avoid glare, shadows, and ceiling clutter
Spacing is only half the design. Glare depends on the fixture’s aperture, trim, brightness, beam angle, and viewing direction. A deeply regressed trim can hide the light source better than a flat, highly visible trim, particularly over a television or near a sofa where people look upward.
Keep recessed fixtures away from ceiling fans and beams whenever possible. A fan can interrupt the visual rhythm and create moving shadows, while a beam may block the light entirely. If a ceiling joist prevents the ideal location, use an adjustable remodel housing only when its aiming range solves a real problem; do not point every fixture at random angles to rescue a poor grid.
Color temperature also changes the experience. Warm 2700K light suits many living rooms and bedrooms, while 3000K is a practical compromise for kitchens, baths, and open-plan areas. Choose a high color rendering index, often 90 or higher, where accurate food, wood, paint, or fabric color matters. These specifications solve different problems than spacing does, but together they determine whether the room feels calm or clinical.
A simple planning example
Imagine a 10-by-12-foot family room with an 8-foot ceiling, a television on one wall, and a reading chair beside a bookcase. A recessed lighting spacing calculator might suggest a four-fixture square. I would first move the television-side fixtures away from the screen’s direct viewing area to reduce reflections. I would place one fixture nearer the chair for reading, then use a floor lamp for a softer local layer.
The remaining fixtures could wash the bookcase and open floor, while a dimmable ceiling fan light handles general illumination when needed. This plan is not as symmetrical as a perfect square, but it responds to the room. At night, the eye notices the illuminated walls and useful surfaces rather than counting fixtures.
Use the result before cutting the ceiling
Mark the proposed centers with painter’s tape or removable stickers. Stand in the room at night and imagine the light coming from each position. Check sight lines from the sofa, countertop, bed, and doorway. In new construction, confirm that electrical boxes, ductwork, joists, insulation, and fire-rated requirements will not force last-minute changes.
A recessed lighting spacing calculator can save time and prevent obvious mistakes, but the final layout should support layering: ambient light for overall visibility, task light for work, and accent or wall light for depth. If you are replacing existing fixtures, compare the old locations with the new plan before opening the ceiling. A small shift of 12 to 18 inches can eliminate a shadow or improve a wall wash.
For a polished result, use the calculator for geometry, your floor plan for context, and a lighting professional or electrician for installation details. That combination gives you a room that is not merely evenly lit, but comfortable, useful, and intentional.