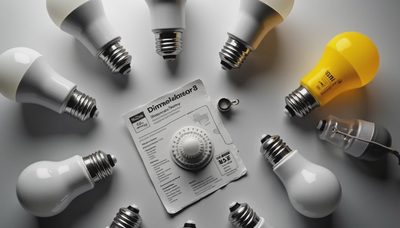
A 3 way dimmer switch is one of those devices that sounds more complicated than it is. In a hallway, stairwell, or open living room, it lets you control one light from two different wall locations while also adjusting brightness. The important detail is that “3-way” describes the circuit, not three brightness settings. Once you understand that distinction, choosing and planning the control becomes much easier.
What a 3 way dimmer switch actually does
A standard three-way circuit controls one fixture from two switches. For example, you might turn on a hallway light at the foyer and turn it off near the bedrooms. The circuit uses two switch locations connected by traveler wires, plus a common terminal at each device. A 3 way dimmer switch replaces one of those controls and adjusts the fixture’s output. The other location normally uses a compatible three-way switch, although some dimmer systems require a matching companion or remote control.
This arrangement is different from a single-pole dimmer, which operates a light from only one location. It is also different from a four-way circuit, where three or more locations control the same fixture. Before buying anything, count the wall controls that operate the light. Two locations usually indicate a three-way setup; three or more require a system designed for four-way wiring.
The reason the dimmer usually goes in only one location is simple: both devices cannot independently regulate the same electrical load unless the manufacturer specifically designs them to communicate. Installing two ordinary dimmers on one circuit can cause flicker, poor control, or damage. Think of one device as the main control and the other as the on-off partner.
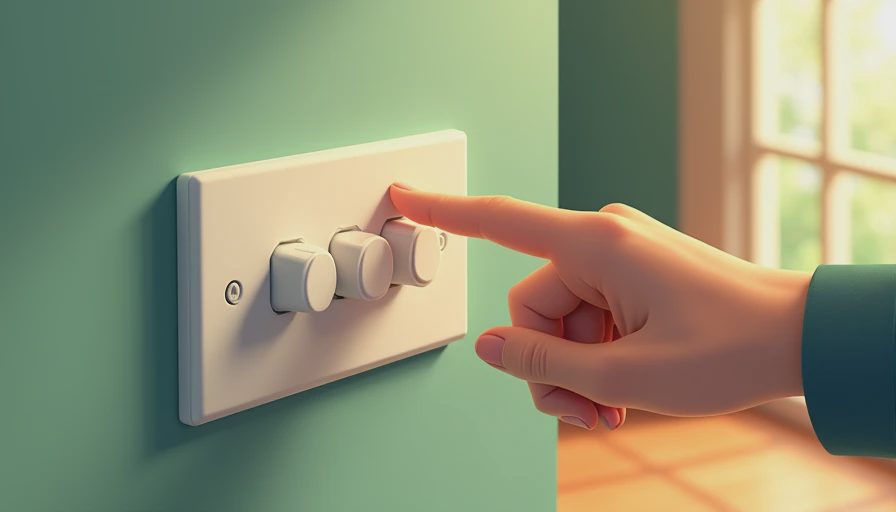
Choosing the right dimmer for your lamps
Start with the light source rather than the wall plate. Incandescent and halogen lamps are generally straightforward because their electrical behavior is predictable. LED lamps require more attention. Look for bulbs labeled dimmable, then confirm that the control is rated for LED loads. An older dimmer designed for incandescent lamps may leave LEDs buzzing, flickering, or glowing faintly after the switch is off.
Brands such as Lutron, Leviton, and Eaton offer dimmers intended for LED applications, but the product name alone is not enough. Read the specifications for minimum and maximum load, compatible lamp types, and whether a neutral wire is required. A small LED load can fall below a dimmer’s minimum rating, especially when the fixture contains only one or two low-wattage bulbs.
A neutral wire is the circuit conductor that allows certain electronic controls to power themselves continuously. Some newer smart dimmers need one; older homes may not have a neutral in every switch box. Do not assume that a white wire is available for this purpose without identifying the wiring properly. Wire colors can be misused in older installations, and a white conductor may serve another role.
If you want app control, voice control, schedules, or scene settings, select a smart three-way system rather than combining unrelated products. A Lutron Caseta setup, for example, typically uses a primary smart dimmer and a wireless Pico remote for the second location. Other systems use a wired companion. The best choice depends on the existing wiring and whether you want a traditional switch feel.
Planning placement and brightness
The most useful location for the dimmer is usually the switch you approach first or use most often. In a bedroom, that may be the door rather than the bedside wall. In a dining room, place the primary control where someone enters the space, then use the second location for convenient shutoff. This is a small decision, but it determines whether the lighting feels effortless every evening.
Brightness should support the activity in the room. At full output, a kitchen needs enough light for chopping and reading labels. At a lower setting, the same fixture can provide a calmer background during dinner. In a living room, dimming overhead light to roughly half output often reduces glare while leaving enough illumination for conversation. The exact level depends on the fixture, room color, ceiling height, and bulb output.
Color temperature matters as well. A dimmer changes intensity, not necessarily the character of the light. Warm LEDs around 2700K tend to feel residential and comfortable, while 3000K can look cleaner in a kitchen or bathroom. If a room still feels harsh after adding a 3 way dimmer switch, the problem may be the bulb’s color temperature, beam spread, or color rendering rather than the control itself.
Installation and safety basics
Turn off the circuit breaker before opening the electrical box, then verify that power is absent with a reliable tester. Do not rely only on the wall switch being off. Photograph the existing connections before disconnecting anything, and label the common wire separately from the travelers. The common terminal is often a darker screw, but terminal color and wiring practices can vary, so follow the product instructions.
A 3 way dimmer switch may have different terminals from a standard switch. Some models include a ground wire, a neutral connection, line and load leads, or clearly marked traveler terminals. The instructions are part of the device’s design, not optional reading. Shut off power at the breaker, not merely at a local disconnect, and keep the circuit de-energized while making connections.
If the box is crowded, the insulation is damaged, the wiring is aluminum, or you cannot confidently identify the common conductor, hire a licensed electrician. A typical straightforward replacement may take a professional less than an hour, while troubleshooting an older circuit can cost more. Paying for correct installation is cheaper than repairing a failed dimmer, damaged fixture, or overheated connection.
Troubleshooting flicker and uneven dimming
LED flicker usually comes from one of four causes: an incompatible bulb, an incompatible dimmer, a load below the device’s minimum rating, or a loose connection. Test with a known dimmable LED from a reputable manufacturer before replacing the entire fixture. If several bulb brands behave differently, compare their compatibility lists and wattage ranges.
Some LEDs do not dim smoothly through their entire range. They may remain bright until the control reaches a low setting, then drop quickly. That is a product limitation, not necessarily a wiring fault. A high-quality dimmer with low-end trim can improve the transition by setting the minimum usable brightness. If the light buzzes, turn it off and investigate rather than accepting the noise as normal.
When the second location works backward or the dimmer operates only intermittently, revisit the common and traveler connections. Do not keep swapping wires randomly. Turn power off, compare each connection with the manufacturer’s diagram, and test only after the box is safely reassembled.
A simple buying checklist
Before purchasing, write down the number of control locations, lamp type, bulb count, total wattage, and whether the fixture includes integrated LEDs. Check whether the box contains a neutral wire and whether the new device must fit beside other switches in a multi-gang plate. Measure the wall plate style too; decorator-style dimmers and traditional toggle switches do not always share the same covers.
Choose a control with a smooth slider, paddle, rotary dial, or smart interface that suits the room. A slider gives quick visual feedback, while a rotary control can feel more precise in a dining room or bedroom. Confirm that the companion switch is included or sold separately. A bargain dimmer can become expensive if it requires a discontinued remote or a special replacement plate.
For most renovations, I recommend specifying the light source and control together. A dimmable LED fixture paired with a compatible 3 way dimmer switch creates a predictable system. It also makes future troubleshooting easier because the bulb, fixture, and control were selected to work as a set.
A three-way circuit is a small example of good lighting design: convenience comes from understanding how people move through a room. Select the right control, protect the circuit, and tune the light for more than just maximum brightness. If you are unsure about the wiring, bring in an electrician; once installed correctly, the result should feel simple every time you use it.