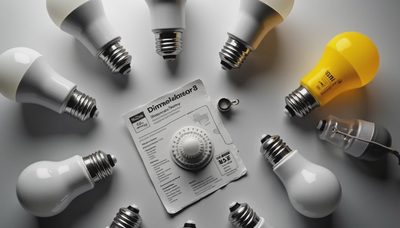
A dimmer light switch does more than lower brightness. It changes the character of a room, reduces glare, and lets one lighting installation support several activities. Bright light can help you prepare dinner or clean a kitchen, while a softer setting makes the same space feel calmer during a late meal. The important part is choosing a control that matches the lamp, fixture, wiring, and way you use the room.
Why dimming changes a room
Light is not experienced as a simple on-or-off decision. A ceiling fixture aimed at a white countertop can create reflected glare, while a wall lamp at the same brightness might feel comfortable. Dimming reduces the amount of light reaching your eyes and surfaces, which changes contrast and makes a room feel less visually busy.
A useful starting point is layering. Ambient light provides general visibility, task lighting supports activities such as reading or food preparation, and accent lighting draws attention to artwork or architectural details. A dimmer light switch is especially valuable for ambient sources because it lets you adjust the background without turning off every layer. For example, in a living room I might set recessed lights low, leave a reading lamp brighter, and use a picture light as a subtle focal point.
The goal is not to make every fixture dim. Some sources, such as certain exhaust fans, fluorescent fixtures, and integrated electronic systems, require specialized controls or are not intended for ordinary residential dimming. Read the fixture and lamp labeling before buying hardware.

Match the switch to the lamp
The most common compatibility problem appears with LED bulbs. Older incandescent dimmers were designed for the electrical behavior of incandescent lamps, which draw power in a comparatively predictable way. LEDs use electronic drivers, and those drivers need a compatible dimming signal. If the match is poor, you might notice flickering, buzzing, a narrow dimming range, or lights that refuse to turn fully off.
Look for LED compatibility on both the bulb package and the control manufacturer's specifications. A dimmer light switch labeled for LED loads is usually the safer choice, but that label is not a universal guarantee. Bulb makers often publish lists of tested controls, and those lists can help when a room contains several fixtures on one circuit.
Wattage also deserves attention. A control has a maximum load, and LED wattage is not always the only consideration. Some manufacturers apply lower ratings when many recessed fixtures are installed together, especially if the fixtures are enclosed or lack ventilation. A six-bulb installation using 9-watt lamps might draw only 54 watts, but the electronic load can still behave differently from a single lamp.
For the smoothest result, use the same lamp model throughout one circuit. Mixing bulbs from different brands can produce different minimum brightness levels and color shifts. If a dining room has four pendants, identical dimmable LEDs will generally respond more evenly than four unrelated products.
Choosing the control style
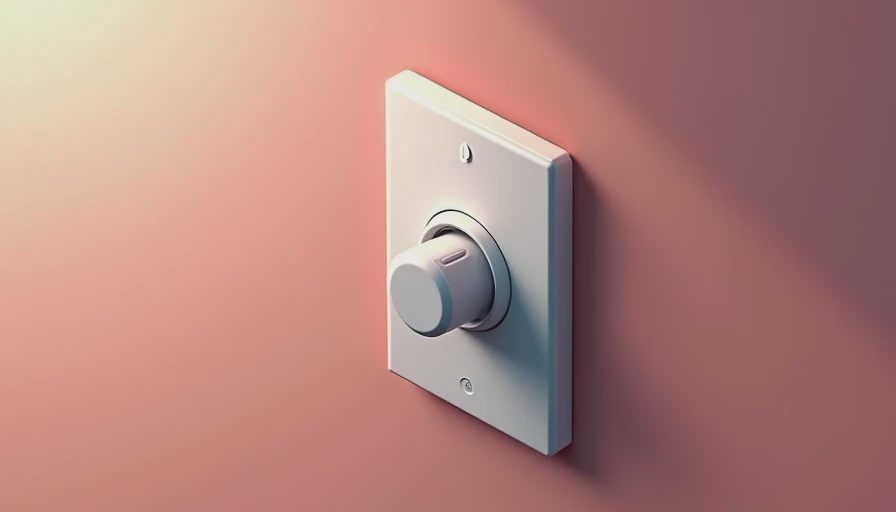
A standard rotary or slide dimmer works well when you want simple manual control. Some have a separate on-off button, while others turn the lights on and off by pressing the knob. A preset dimmer can return to a preferred level, which is useful in bedrooms, media rooms, and hallways.
Smart controls add scheduling, app operation, voice commands, and scenes that coordinate multiple fixtures. A smart dimmer light switch can lower the kitchen lights at bedtime or activate a gentle entry setting when someone arrives home. However, smart models need a compatible hub, wireless network, or neutral wire depending on the product. The box depth matters too; smart controls are often bulkier than basic switches.
Three-way and multi-location circuits require special attention. If one light is controlled from two locations, replace the existing control with a compatible three-way dimmer and follow the wiring instructions exactly. A standard single-pole dimmer is not automatically suitable. Turn off the circuit breaker, verify that power is absent with an appropriate tester, and stop if the wiring does not match the diagram.
Room-by-room applications
In a kitchen, keep task lighting strong enough for knives, ingredients, and cleanup, then reduce ambient ceiling light during breakfast or conversation. Under-cabinet fixtures should usually have their own control so dimming the ceiling lights does not make the work surface too dark. A dimmer light switch on recessed lighting can soften a kitchen without sacrificing useful counter illumination.
In a bedroom, warm-white lamps around 2700K often feel more restful than cooler sources. A control beside the bed is convenient, but do not rely on a very low setting if you still need to read comfortably. In a bathroom, use separate controls for the vanity and general ceiling light. This allows a brighter mirror for grooming while keeping early-morning illumination gentler.
Living rooms benefit from at least two circuits. Put general recessed or flush-mounted lighting on one control and decorative lamps or wall sconces on another. In a dining room, a chandelier should dim low enough for a relaxed meal but remain bright enough for cleaning. If the chandelier uses multiple LED lamps, test the minimum setting before final installation.
Hallways and stair areas often need reliable low-level light rather than dramatic dimming. A preset level or occupancy control can be more practical than constantly adjusting a slider. Keep controls easy to find, especially at the top and bottom of stairs.
Installation details that prevent trouble
Before purchasing, identify whether the circuit is single-pole or multi-location, count the lamps, confirm that they are dimmable, and photograph the existing wiring. Check whether the electrical box has enough room for the new device. Local electrical rules can require specific methods, and an electrician is the right choice when you find aluminum wiring, damaged insulation, crowded boxes, or unfamiliar connections.
Never assume that turning off a wall switch makes the wires safe. Switch off the breaker and test the conductors. Secure wire connections with approved connectors, install the grounding connection required by the device, and make sure the faceplate sits flat without forcing the control into the box. After installation, test the full range slowly. Listen for hum and watch for flicker at both high and low settings.
If the light flickers only near the bottom of the range, the issue could be the lamp's minimum threshold rather than a defective control. Raising the minimum trim setting often helps. Persistent noise or inconsistent behavior points to a compatibility problem that should be resolved rather than ignored.
A practical buying decision
Spend about $15 to $30 for a basic LED-compatible control, roughly $25 to $60 for a higher-quality preset model, and more for connected products with smart-home features. The cheapest option is not always the best value if it produces buzzing or forces you to replace perfectly good bulbs.
When comparing products, prioritize compatibility, minimum and maximum load ratings, control feel, box depth, and whether the device supports your circuit arrangement. Leviton, Lutron, and Eaton all offer widely available residential controls, but the exact model matters more than the logo. Match the specification to the application instead of choosing by brand alone.
A well-selected dimmer light switch should disappear into the room while making the room easier to use. Start with the lighting layers, confirm the electrical details, and choose lamps and controls as one system. That approach produces calmer evenings, clearer task light, and fewer surprises after the wall plate is installed.