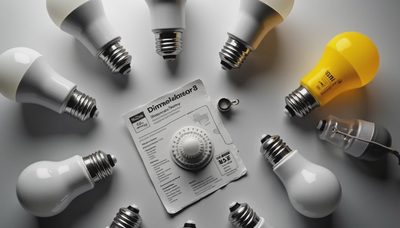
LED strip lights can do far more than add a colorful glow behind a television. Used thoughtfully, they create the quiet layers of light that make a room feel finished after sunset. I have used them beneath cabinets, inside built-ins, along stair treads, and behind architectural details. The important question is not where you can stick a strip, but what visual problem it should solve.
Why LED strip lights improve a room
LED strip lights are a form of linear lighting: a flexible circuit board carries small light-emitting diodes at regular intervals. Because the source is narrow and easy to conceal, it can illuminate a surface without demanding attention like a chandelier or pendant. That makes it particularly useful for a lighting layer called accent or indirect light.
Imagine a living room with one ceiling fixture switched on. The floor may be bright, but the walls and ceiling recede into shadow, so the space feels flatter than it did during the day. A concealed strip washing a wall, highlighting a bookcase, or tracing the back of a media cabinet adds brightness at the edges of your vision. Your eyes perceive more depth, and the room can feel warmer without simply increasing the wattage of the overhead fixture.
When I specify LED strip lights, I first identify the surface that should receive light. A strip hidden under a shelf should brighten the objects below it. A strip behind a headboard should create a soft halo, not illuminate the pillows directly. This distinction prevents the common mistake of seeing individual bright dots or harsh reflections in glossy paint.
Brightness matters, but more is not automatically better. A short decorative run might work at 200 to 400 lumens per foot, while task-oriented under-cabinet lighting often needs a stronger product and a diffuser. A dimmer lets you use the same installation for cooking, cleaning, entertaining, or winding down.

Choose LED strip lights by the specification sheet
The best LED strip lights are selected by their specifications, not just by a product photograph. Start with color temperature. A 2700K strip resembles the warm light of an incandescent lamp and usually suits bedrooms, living rooms, and wood cabinetry. A 3000K strip looks cleaner while remaining comfortable in most kitchens and bathrooms. Products around 4000K can be useful for a workshop or utility area, but they often feel too clinical for a relaxed living space.
Next, look at color rendering index, or CRI. CRI describes how naturally a source reveals colors compared with a reference light. For residential interiors, I generally prefer CRI 90 or higher, especially near food, artwork, natural wood, and clothing. A low-CRI strip might make a countertop look gray or cause red accents to appear dull, even when the brightness seems acceptable.
Pay attention to LED density. If the diodes are widely spaced, you may see a dotted pattern reflected from a backsplash or polished stone. Higher-density tape reduces that effect, and an aluminum channel with a frosted diffuser can make the line appear continuous. The channel also helps conduct heat away from the tape, which supports more consistent performance over time.
Color-changing LED strip lights are entertaining in a game room or media space, but they are not automatically the best choice for a whole home. For daily architectural lighting, a high-quality single-color strip with reliable dimming often looks more refined. If you want tunable white, confirm that the controller can shift smoothly between warm and cool settings rather than jumping between obvious steps.
Where LED strip lights work best
Kitchen cabinets are an excellent starting point. Install the light toward the front underside of an upper cabinet, so the countertop receives useful illumination instead of the backsplash taking all the brightness. Continuous runs look better than several disconnected sections, and a diffuser softens reflections from stone surfaces.
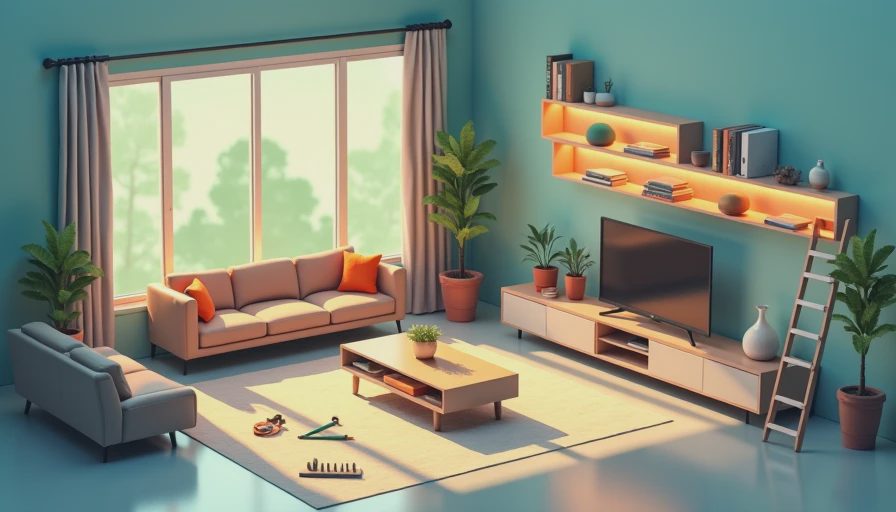
In a living room, try a concealed run behind a bookcase or along the rear edge of a media console. The goal is a gentle background glow that reduces the contrast between a bright screen and a dark room. A typical installation might cost $75 to $250 in materials for a modest built-in, while a custom millwork project with channels, wiring, and a dedicated control zone can cost considerably more.
Bedrooms benefit from indirect placement. A strip beneath a floating bed platform or behind a headboard can provide orientation light without forcing you to turn on a ceiling fixture at midnight. Keep the output low and warm, around 2200K to 2700K, if the purpose is relaxation.
Stairs require extra care. Light can emphasize each tread, but exposed tape can create glare or become damaged by shoes and cleaning tools. Recessed channels under the nosing or concealed side lighting are safer-looking solutions. Any installation near a damp location, such as a bathroom, should use a product with an appropriate wet-location rating and properly protected connections.
Install LED strip lights without the usual mistakes
Before cutting anything, measure the route and locate the power supply. Most residential tape operates at 12 or 24 volts and needs a driver or power adapter. I favor 24-volt systems for longer runs because they typically experience less voltage drop, which is the gradual loss of brightness toward the far end of the strip. The power supply should have enough capacity for the total load, with reasonable headroom rather than operating at its maximum rating.
Cut only at the marked cut lines. Cutting between those points can break the circuit and leave a section unusable. Clean the mounting surface with a suitable degreaser, allow it to dry, and avoid relying on adhesive backing alone in warm or dusty locations. Clips, channels, or a small amount of compatible mounting hardware provide a more dependable installation.
Plan access for the controller and driver before the cabinetry or trim is closed. A hidden component that cannot be reached later turns a simple replacement into a carpentry project. For a permanent renovation, an electrician should handle new line-voltage wiring, junction boxes, and connections to a wall switch. Low-voltage tape is approachable, but the system still needs correct electrical protection.
Build a useful control strategy
A beautiful installation can become annoying if the switch is inconvenient. For kitchen lighting, a wall control near the room entrance and a separate dimmer near the work zone can be worthwhile. In a bedroom, a bedside control is more useful than a switch hidden behind furniture. Smart controls can add schedules and voice operation, but verify compatibility among the strip, controller, dimmer, and home platform before purchasing.
I usually separate accent lighting from the main ceiling circuit. That lets you enter a room with modest ambient light, add brighter task light for an activity, or use only a low evening glow. The result is more flexible than placing every source on one switch, and it often feels more luxurious without a larger fixture budget.
A practical buying sequence
Start by writing the job in one sentence: illuminate a countertop, soften a media wall, mark a stair, or create a decorative color effect. Then choose the color temperature, CRI, brightness, length, voltage, and control method. Add an aluminum channel wherever the strip will be visible or installed on a heat-sensitive surface. Finally, buy a small sample or short section before committing to a full room.
That last test is valuable because paint, stone, wood, and glossy tile all reflect light differently. A strip that appears gentle on a product page may look sharp against a white backsplash. Test it at night, at its intended dimming level, from the normal viewing position. When the source disappears and the surface simply looks better, you have used the technology correctly.
LED strip lights are not a substitute for every fixture. They cannot replace a well-placed reading lamp or provide all the downward light needed for detailed work. But when they are concealed, specified for good color quality, and assigned a clear purpose, they add the depth most rooms are missing. Start with the layer your space lacks, then build the system around how you actually live.